Blog Post

MERMAID ICE CREAM!!

Hellthy JunkFood • Jun 11, 2017

780 Calories

Mermaid Ice Cream & Ice Cream Cone

Mermaid food is the new thing!  We didn’t want to just make mermaid toast… we new we had to take it to the next level and wanted to do so by creating Mermaid Ice Cream.  Not only was this fun but it was absolutely stunning.  Nearly too pretty to eat.


Prep Time: 2 0 mins
Cook Time: 15 mins
Total Time: 35 mins

Author: HellthyJunkFood
Recipe Type: Dessert
Cuisine: American
Serves: 8

Ingredients:

Blueberry Coulis:


  • 2 cups blueberries
  • ¼ cup sugar
  • 2 tbsp lemon juice
  • 1½ tbsp cornstarch mixed with 2 tbsp water
  • ⅓ cup water

Vanilla Ice Cream:


  • 14 ounces sweetened condensed milk (1 can)
  • 1½ teaspoons vanilla extract
  • 2 cups heavy cream chilled
  • OR BUY VANILLA ICE CREAM, partially melted
  • Food Dye

Waffle Cone:


  • ⅔ cup all-purpose flour
  • ¼ tsp. salt
  • 2 eggs
  • ½ cup sugar
  • 4 Tbsp (1/2 stick) unsalted butter, melted
  • ¼ cup milk
  • Food Dyes
  • Candy Melts
  • Cinnamon & Sugar
  • Gold Sugar

THINGS YOU'LL NEED:


Instructions:

Blueberry Coulis:


  1. In a small pan, combine blueberries, sugar and lemon juice. Cook over medium-high heat until the blueberries break down, about 8 minutes.
  2. Combine cornstarch and water in a small bowl, then add to the blueberry mixture, stirring until combined. Once the raspberry sauce has thickened slightly about 2 minutes, strain the sauce into another bowl to remove the seeds.
  3. Transfer the blueberry sauce to the refrigerator to cool completely. Once cooled begin making the ice cream base.

Vanilla Blueberry Swirl Ice Cream:


  1. After vanilla ice cream is made(or store bought) place ice cream in 2 separate bowls. Once softened enough drop green and blue food dye into the separate bowls and stir.
  2. Using a freezer safe container scoop blue, blue/green, white ice cream into the container and repeat.
  3. Pour your blueberry sauce over the ice cream and using a knife or spoon swirl in your blueberry. This will give all of the ice cream a cool effect. Don't over swirl.
  4. Cover tightly and freeze until hardened, at least 6 hours.

Waffle Cone:


  1. Preheat a waffle-cone maker according to the manufacturer's instructions. Start with heat setting #3 and adjust as necessary.
  2. In a small bowl, sift together the flour and salt. Set aside.
  3. In a bowl, whisk together the eggs and sugar until the sugar is incorporated and the eggs have lightened in color, about 1 minute. Add the flour mixture and stir until incorporated. Add the butter and milk and stir just until combined.
  4. Spilt batter into 2 batches and add food dye.
  5. Spoon 3 table spoons batter onto the waffle-cone maker. Using a small offset spatula, spread the batter evenly over the surface. Close the lid and cook for at least 1 minute before lifting the lid to check for doneness. Continue cooking until the desired color is reached, 1½ to 2 minutes total on heat setting #4.
  6. Quickly remove the waffle from the waffle-cone maker and shape it around the cone roller (included with the waffle-cone maker). Hold the cone for a few seconds to set its shape. Set the cone on a parchment-lined baking sheet.
  7. Repeat with the remaining batter.
  8. Using the left over batter take one cone right after you pull it off the waffle maker and cut it in half. Cut a mermaid tail out.
  9. Melt white chocolate candy melts in the microwave and use it as glue to secure the tail of the mermaid cone. Feel free to decorate as much as you'd like we used white chocolate candy melts and gold sugar!

Vanilla Ice Cream:


  1. In a large bowl combine the sweetened condensed milk with the vanilla bean extract, set aside.
  2. Use a mixer, immersion blender or hand whisk the chilled cream until stiff peaks are formed. About 2-3 minutes on high in a stand mixer, do not over whip!
  3. Gently fold in about ⅓ of the whipped cream into the sweetened condensed milk. Transfer the rest of the whipped cream into the bowl and gently fold in until the mixture smooths out and become soft and silky. Stop folding when you see just a few small lumps left, do not deflate the mixture by over mixing!


Nutritional Information:

Serving Size: 1 Calories: 780 Fat: 39 Saturated Fat: 22 Unsaturated Fat: 9 Trans Fat: 0 Carbohydrates: 111 Sugar: 88 Sodium: 239 Fiber: 4 Protein: 13 Cholesterol: 141

By Julia Goolia 13 Apr, 2024
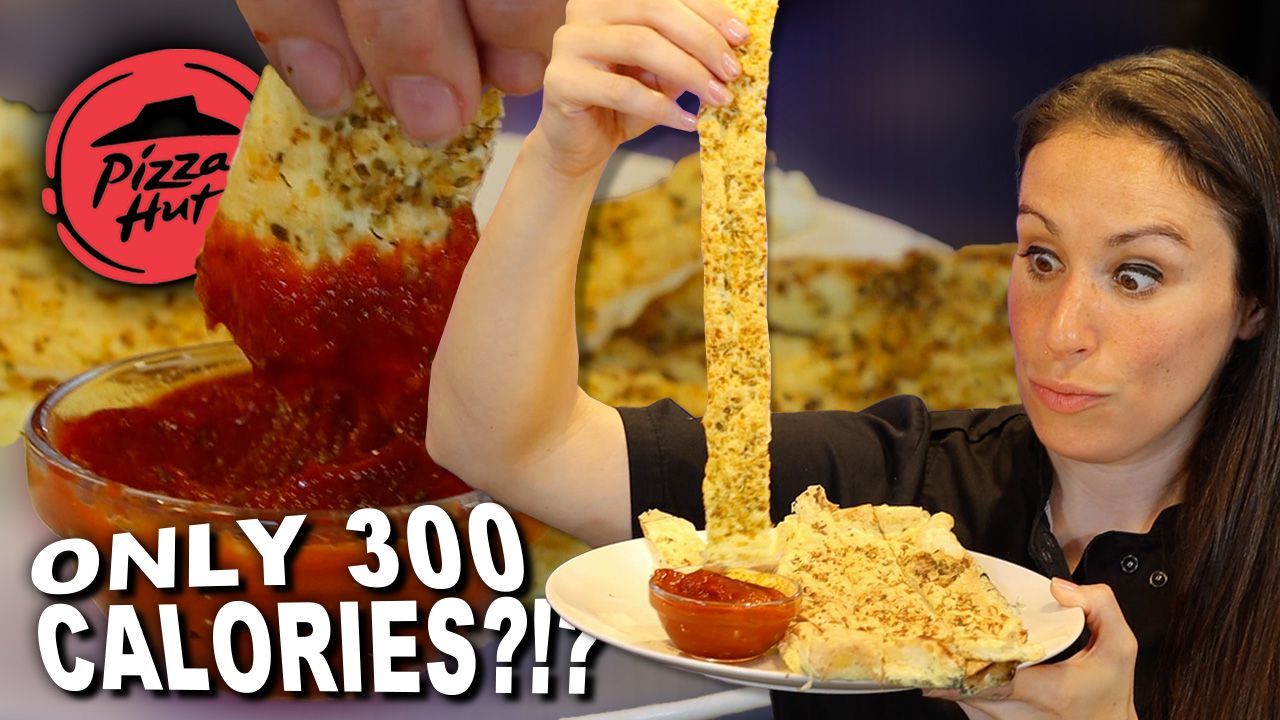
Gluten free? Low carb? Just trying to eat less? Love Pizza Hut? This recipe is for you
By Julia Goolia 10 Jan, 2024
Inspired by Ikea's holiday UK giveaway today I take on their Swedish meatball recipe myself and I think it turned out amazing. You be the judge! 10,188 Calories Per Giant Meatball
By Julia Goolia 17 Dec, 2023
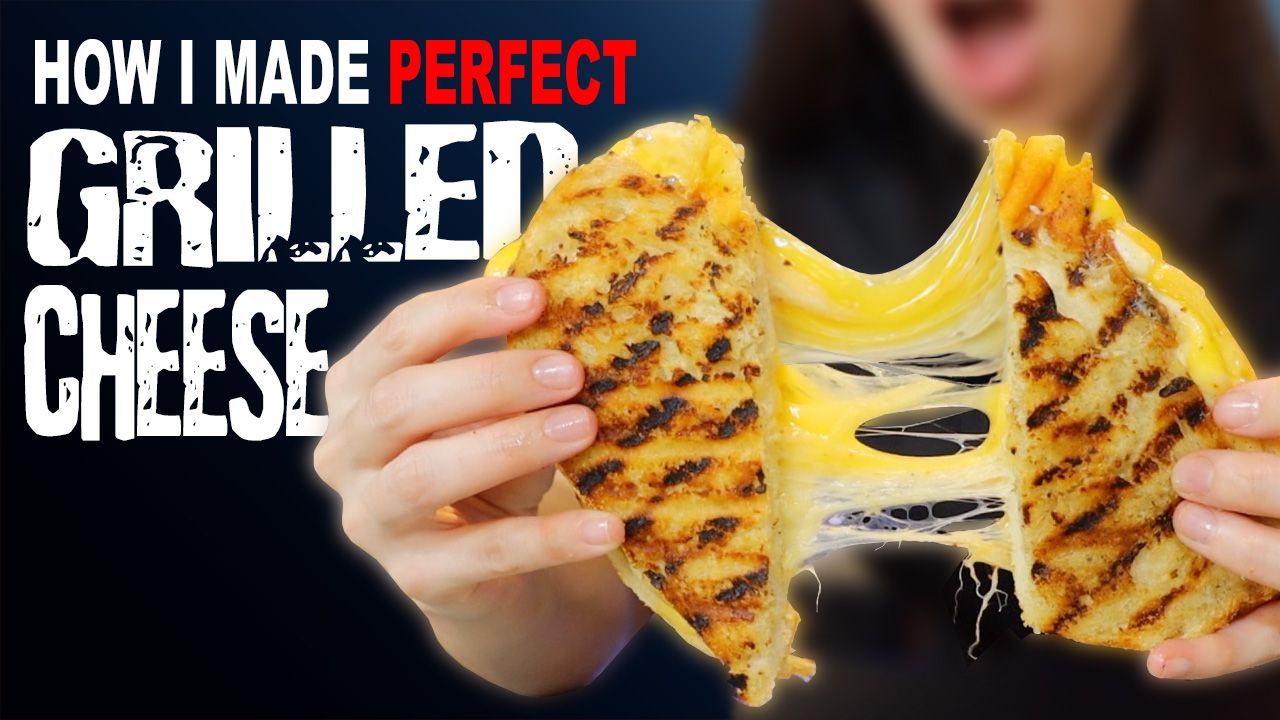
IF you haven't ever grilled your grilled cheese it's time to start now.
By Julia Goolia 12 Dec, 2023
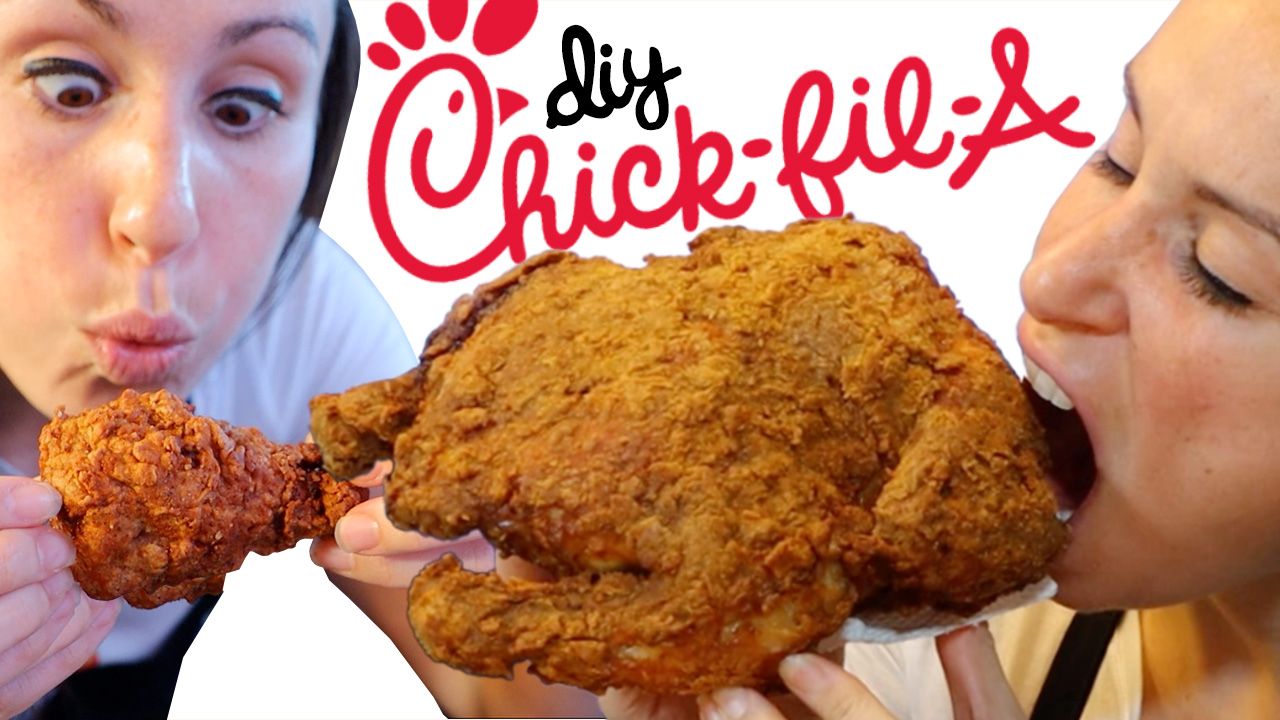
If you like Chick-fil-A you will love this recipe as it brings the sandwich to the next level with so much more flavor.
By Julia Goolia 16 Nov, 2023
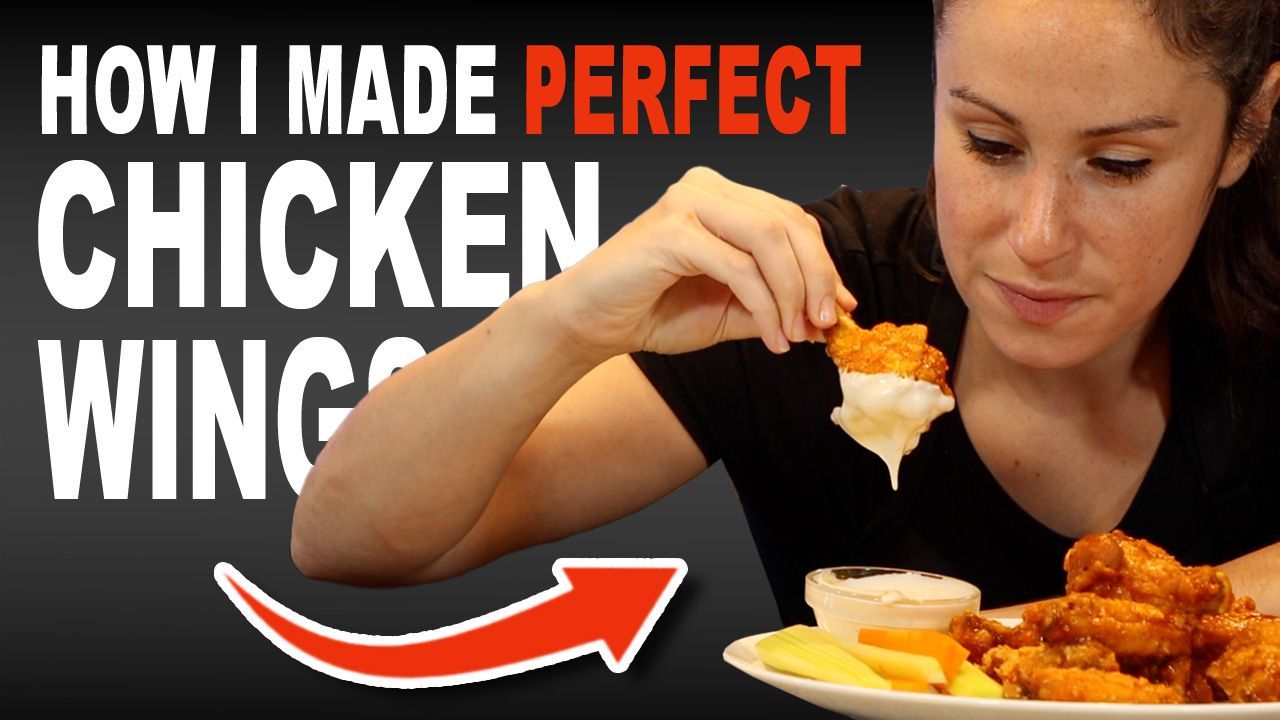
From careful consideration of every way to cook chicken wings, a taste test analysis, and combinations of methods in this video I present to you the perfect chicken wing recipe.
By Julia Goolia 13 Oct, 2023
In today's recipe I oversize our favorite childhood snack, Totinos Pizza Rolls!
By Julia Goolia 14 Sep, 2023
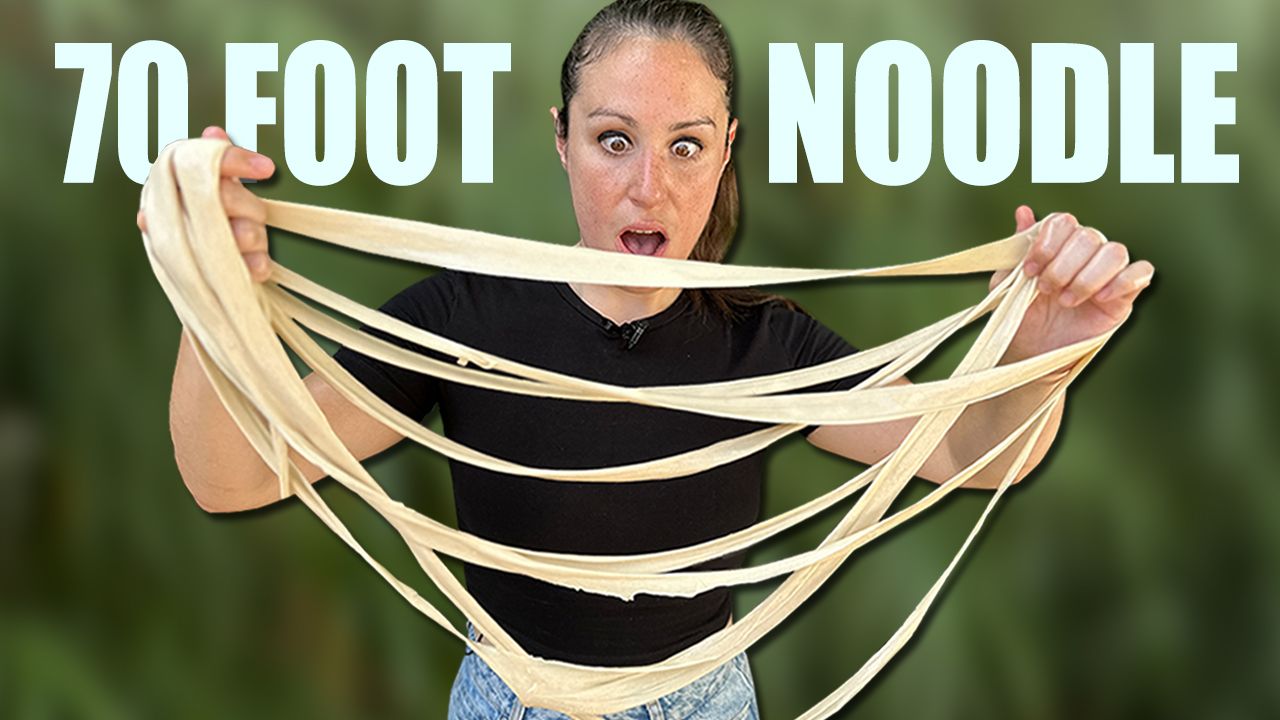
I linked up with my friends at Red Panda Noodle to learn all about Xi'an Biang Biang noodles and to test how long we could hand stretch a noodle.
By Julia Goolia 11 Sep, 2023
I head to China Town to search for the famous Geoduck to see if it this strange seafood is as amazing as everyone says it is.
By Julia Goolia 07 Sep, 2023
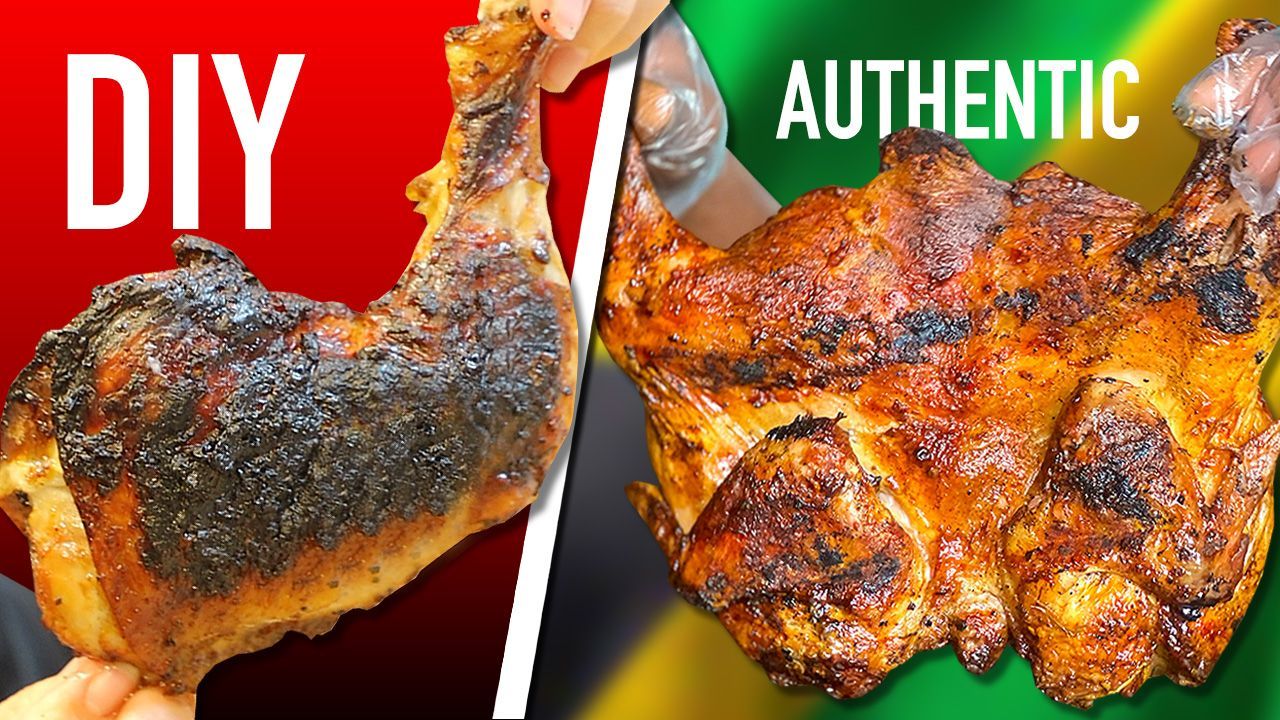
Follow this recipe to be transported to Jamaica and let me know what you think!
By Julia Goolia 05 Aug, 2023
You need this if you're too lazy to cook but want something so tasty you're little heart will flutter.
Show More
Share by: